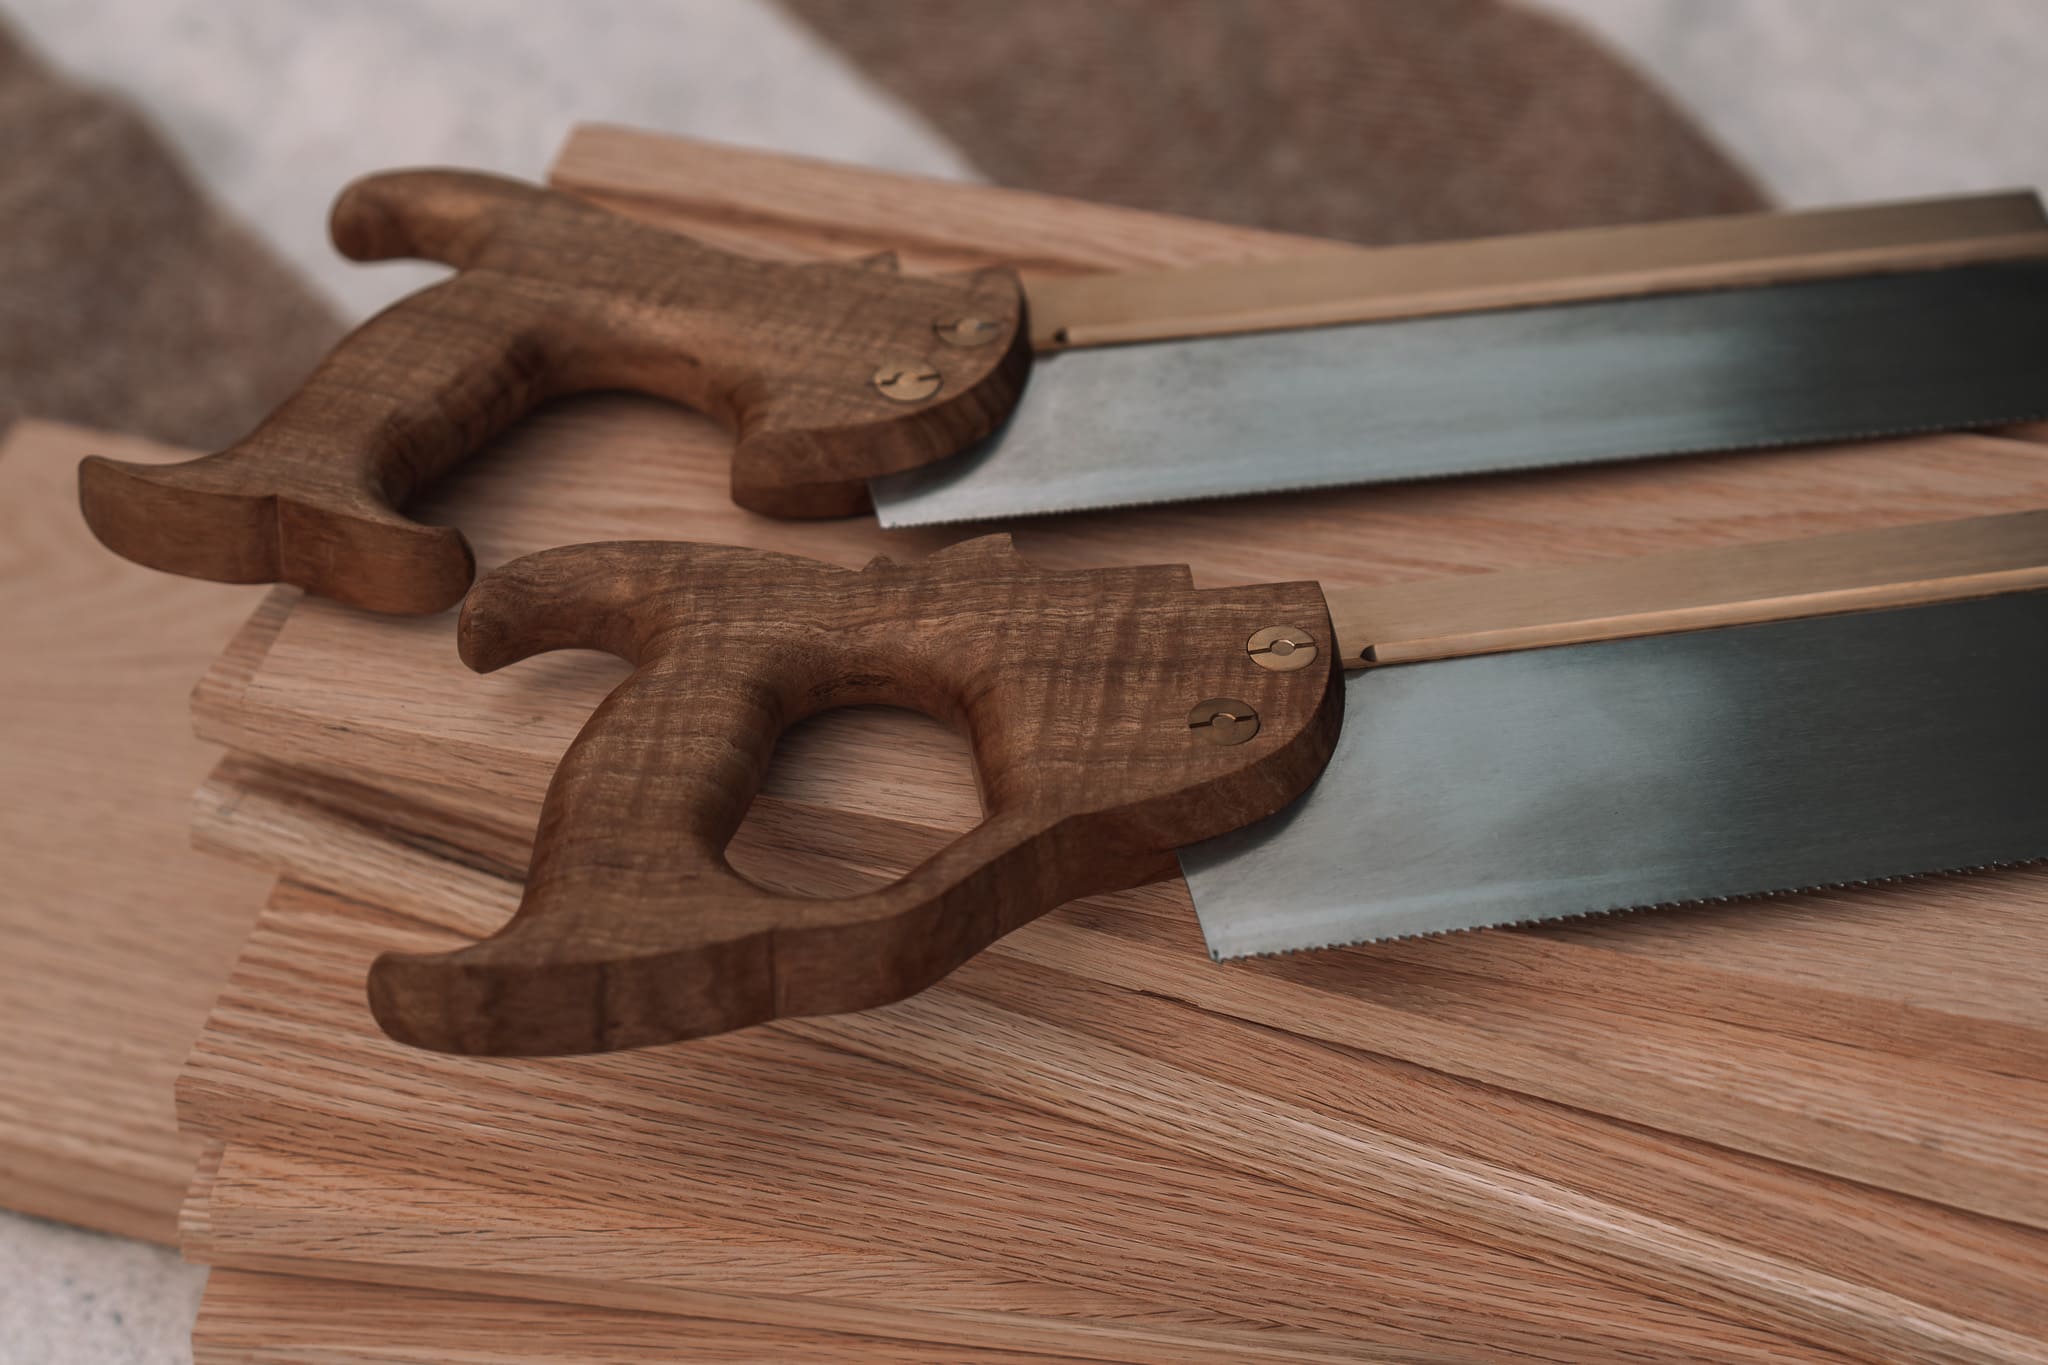

Sharpening a saw looks harder than it is, and sharpening a fine backsaw looks harder again because the teeth are so small. It’s a job of patience more than skill. You hold two angles and repeat one simple stroke a few dozen times. This is how I do it, from clamping the saw to the test cut. If rake and fleam are new words, read the post on the three angles on a saw tooth first, and if you’re not sure the saw needs it, read how to tell when a saw is blunt.
What you need
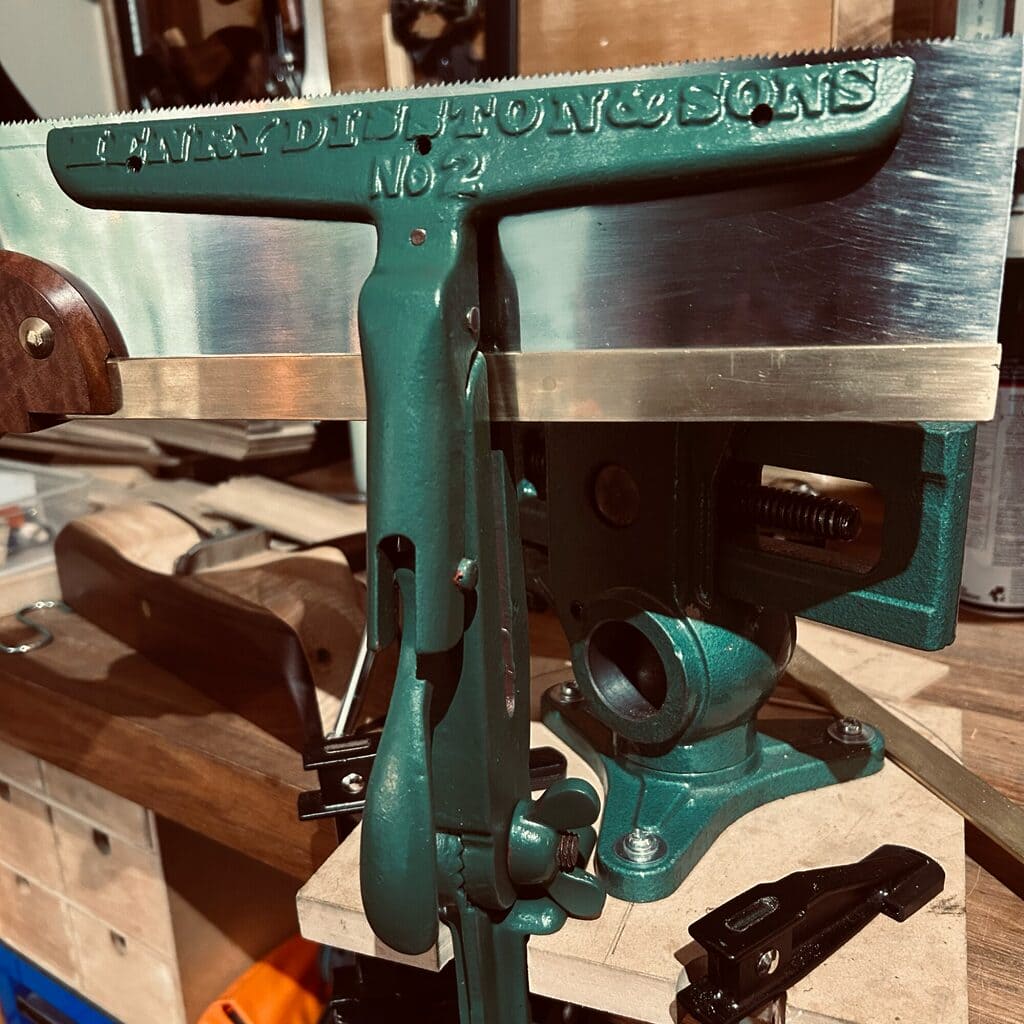
- A saw vice, or two straight hardwood battens a bit longer than the plate, clamped in a bench vice with the saw between them. The teeth should stand no more than about 5mm above the jaws or the plate will chatter and the file will screech. Minimise vibrations.
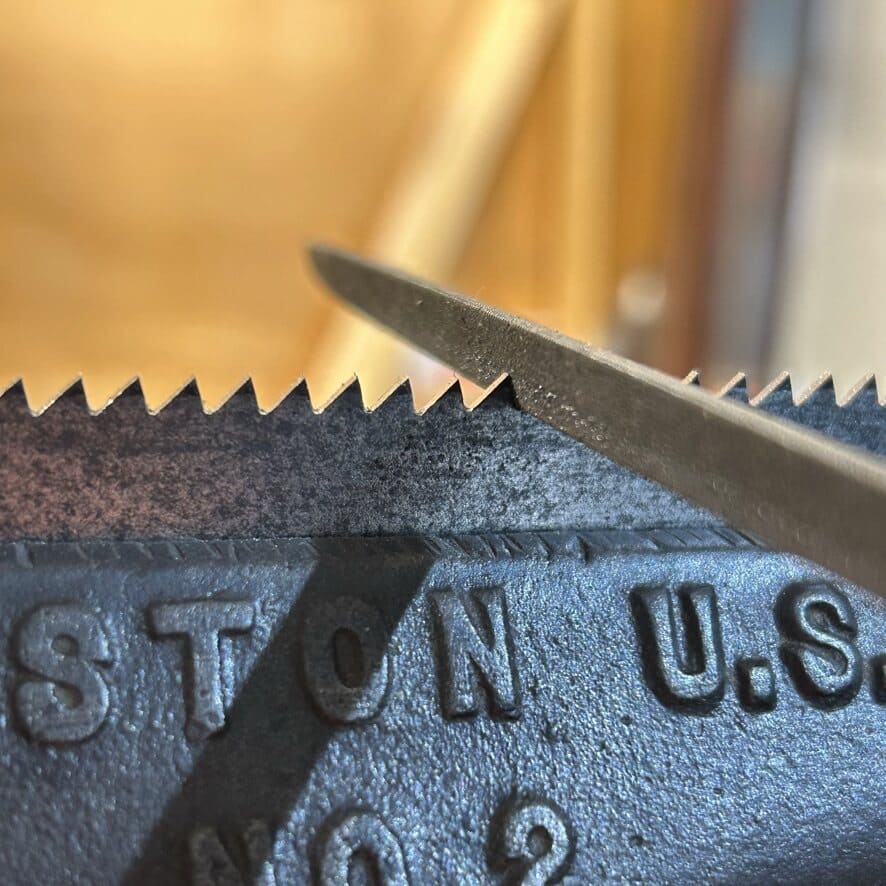
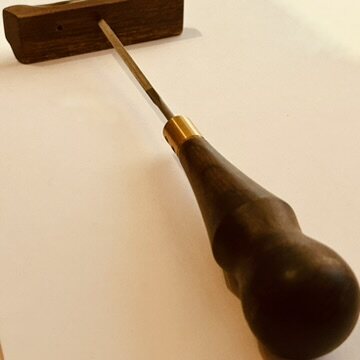
- A file to suit the pitch. For coarser saws that’s a triangular saw file, sizes in the table below. For fine backsaws like mine I use a triangular needle file with a simple file guide, which is what everyone takes home from my workshops. F. Dick is the brand I use and recommend. I use a cut 2 for the first shaping and a cut 4 for finishing, and there’s more on choosing them in the post on needle files. Buy two. Files don’t last forever, and a cheap hardware-store file is a false economy that’ll ruin an afternoon.
- A fine flat mill file, around 150mm single cut, for jointing.
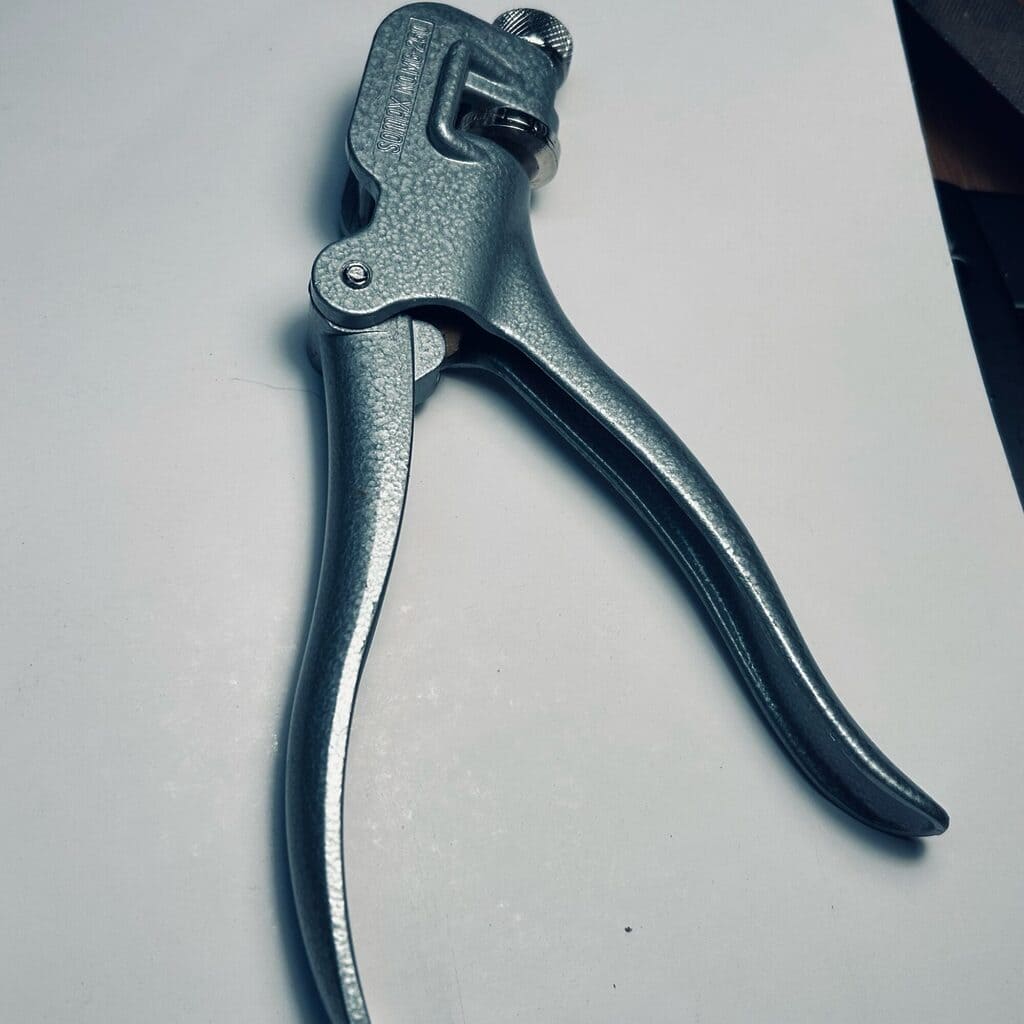
- A saw set, only if the saw needs set. For 12 to 16 points per inch an Eclipse 77 or a Somax on its finest setting. You may need to modify the plunger for smaller teeth.
- A file handle, a black marker pen, a magnifier and a good light.
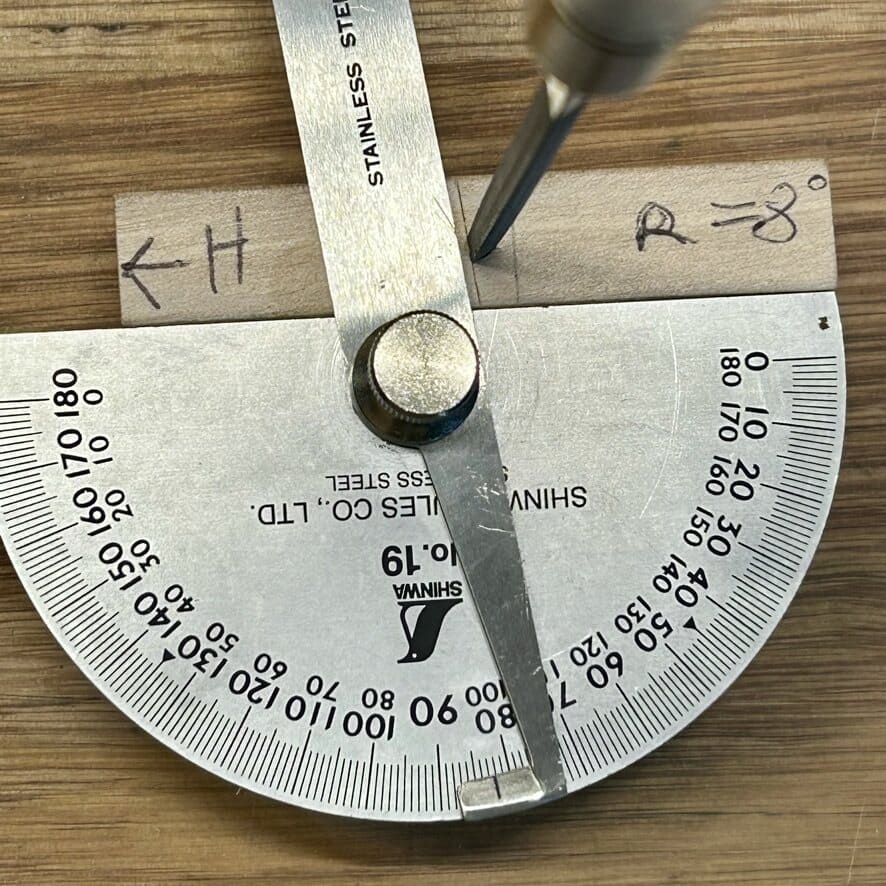
- A rake guide: a small offcut of hardwood pushed onto the tip of the file, with a pencil line on it at the rake angle. Keep the line vertical as you file.
| Points per inch | File |
|---|---|
| 9 to 11 | 150mm (6 inch) extra slim taper |
| 12 to 14 | 125mm (5 inch) double extra slim taper |
| 15 to 17 | 100mm (4 inch) double extra slim taper |
| 18 and finer | 100mm (4 inch) double extra slim, or a needle file |
The rule behind the table is that each face of the file should be a bit more than twice the height of the tooth, so you can rotate to a fresh corner as one wears. A triangular file has three corners, so that’s three lives per file.
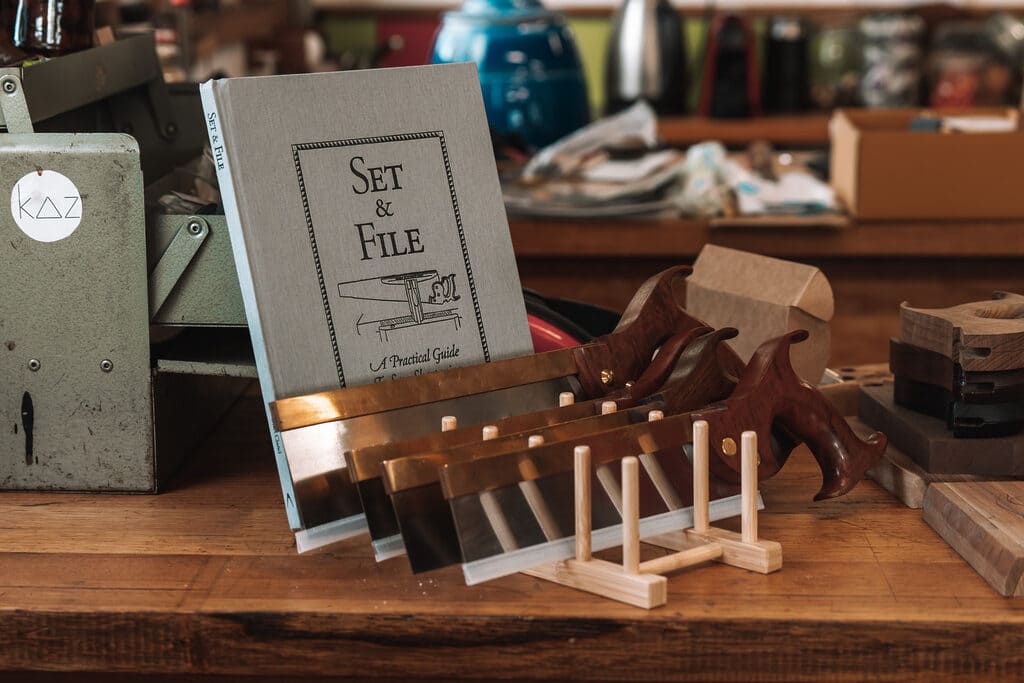
If you want one book on the subject, Set & File by Matt Cianci is the best explanation of saw sharpening I’ve found. There’s a downloadable PDF version for a very reasonable price.
Step 1: joint the teeth
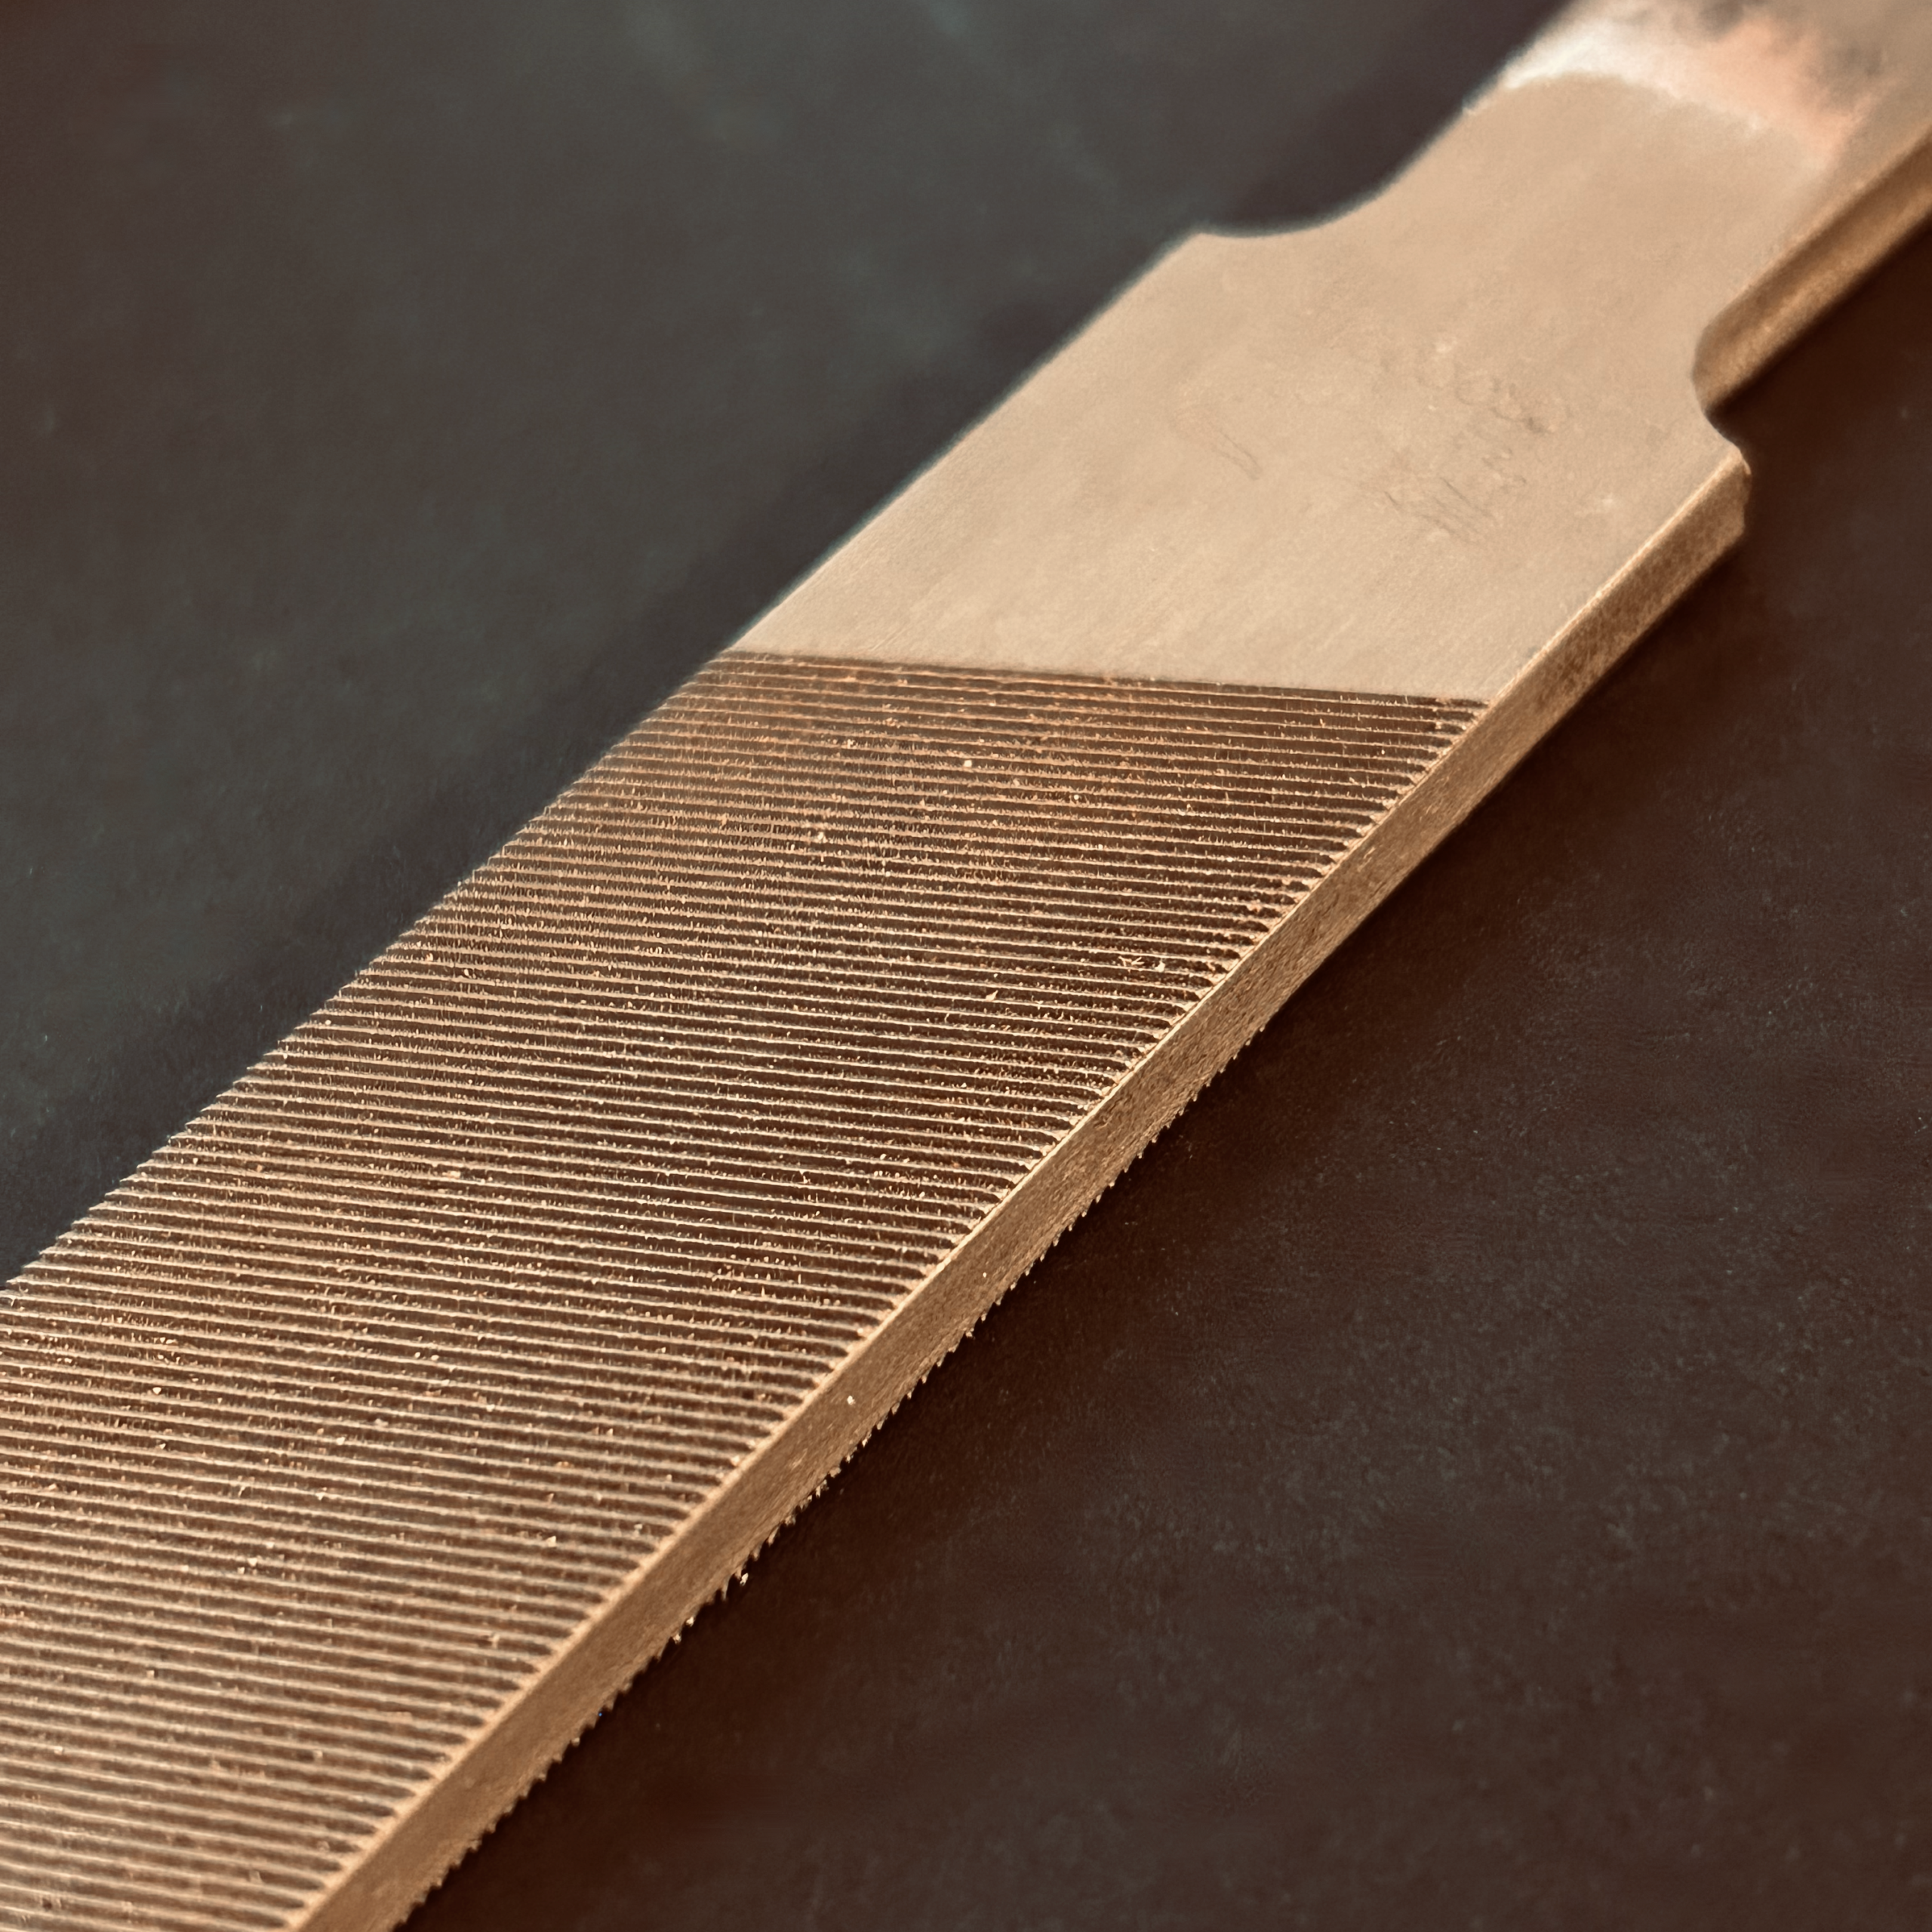
Clamp the saw teeth up. Colour in the teeth with a whiteboard marker. This helps to see where you are up to when jointing and filing. Run the flat file along the toothline from heel to toe, held dead flat, with light pressure, until every tooth shows a tiny flat on its point. Then stop.
Those flats, called shiners, are your guide for the rest of the job. Do this even on a saw that’s only slightly worn. A tooth that sits a fraction lower than its neighbours never touches the wood, and jointing is the only way to find it.
Step 2: fix your angles
Set the rake with the guide block on the tip of the file. For fleam, draw a line on the bench or the vice jaw at the angle you want, 0 degrees for a rip saw, 20 to 25 for cross cut, and keep the file parallel to it. Then colour the whole toothline with the marker. You’ll be able to see exactly where the file has cut, which makes small teeth much easier to read.
Step 3: file
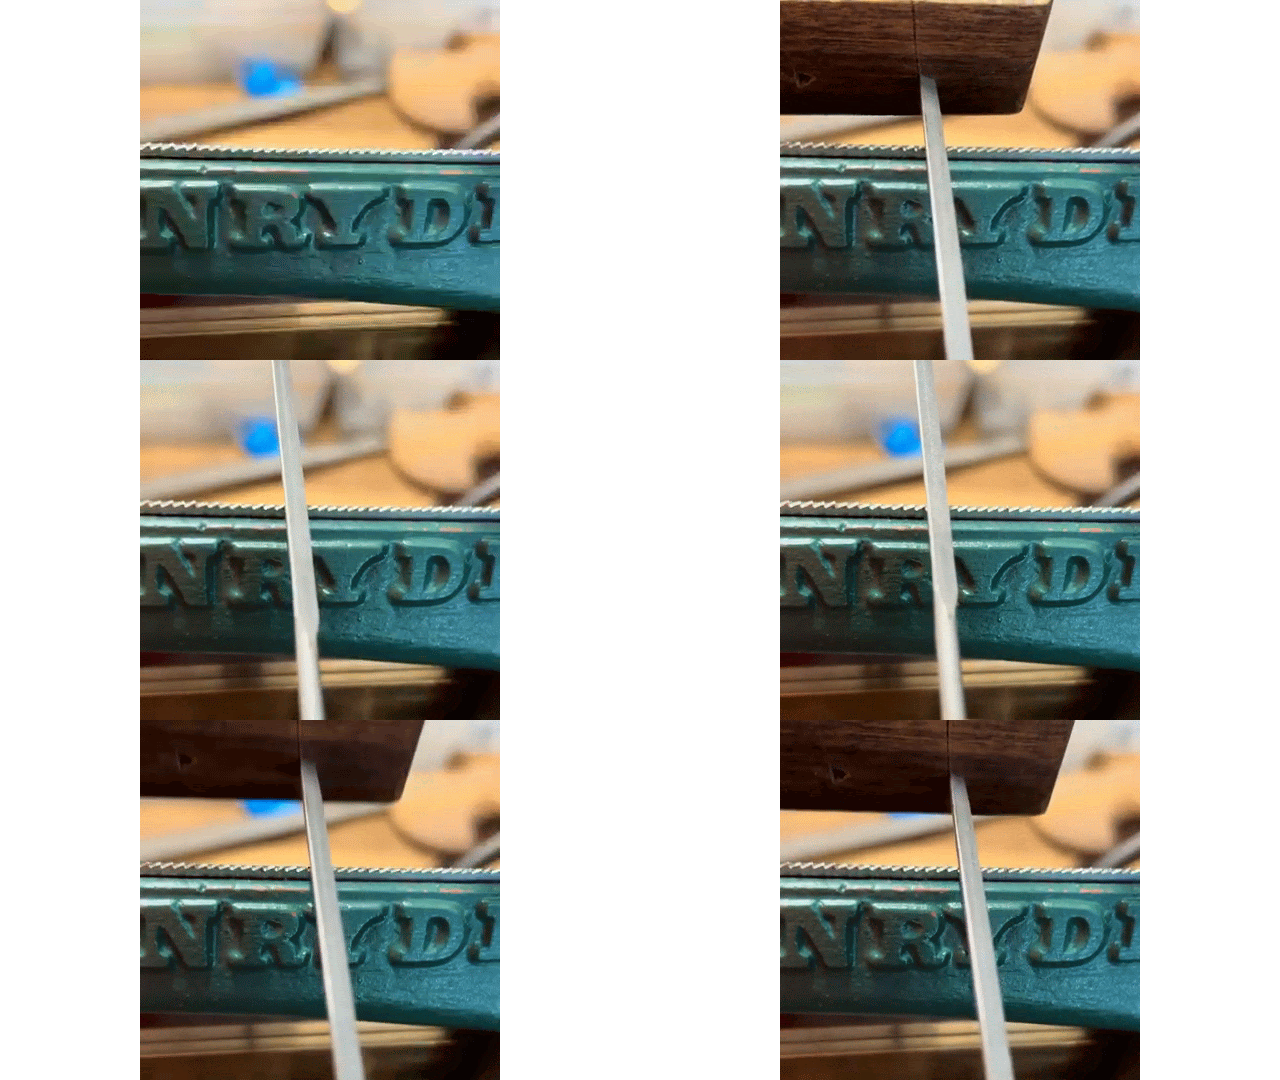
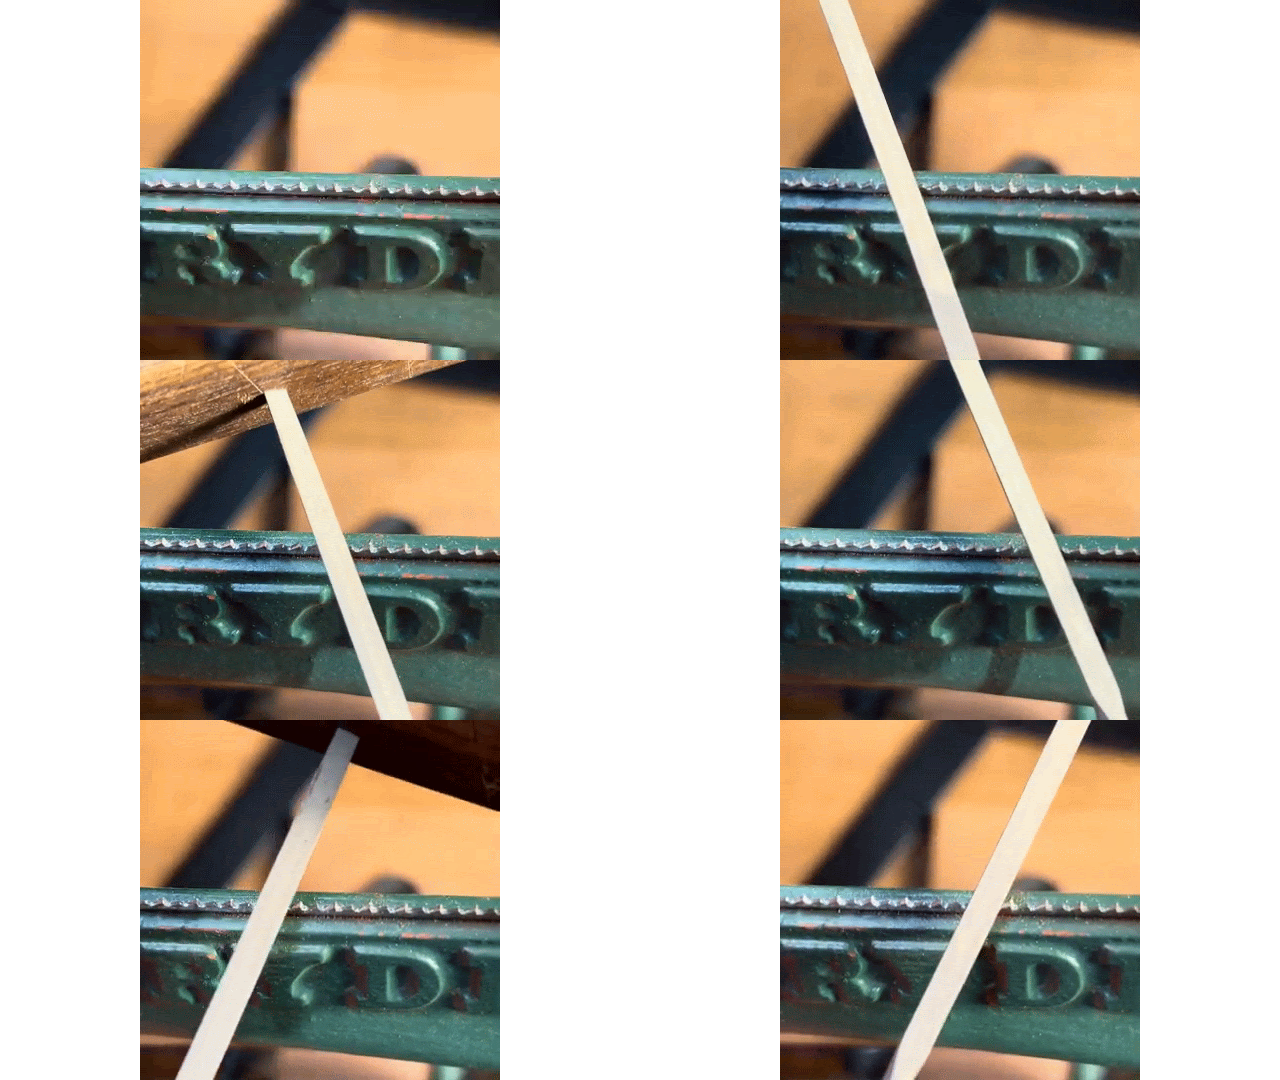
Start at the heel. Sit the file in the first gullet, resting on the back of one tooth and the front of the next, and push it across the plate with light, even pressure. Cut on the push stroke only, and lift the file on the way back, because dragging it backwards dulls it. Two or three strokes is usually enough. Watch the flat on the tooth in front of the file, and listen. A file that’s cutting properly makes a clean, even sound, and you’ll hear it change when it starts to slide.
On a rip saw, with no fleam, file straight across, one gullet after another, until the flat on top of each tooth has just disappeared to a point. On a cross cut saw, file every second gullet from one side with the file angled for fleam, taking each flat down to about half. Then change to the reverse fleam angle and file the other side of the tooth. I focus on the teeth bent away from me looking at left side and right sides of it to get that pinnacle sharp point. If saw teeth are too high in the vice it will vibrate and cause chatter on the file cut. Vibration is not your friend here, lower teeth to just above vice keeping vibration to a minimum.
Count your strokes and keep the same pressure on every one. That’s what makes every tooth the same height, and equal height is what makes the saw cut straight.
Step 4: check under the light
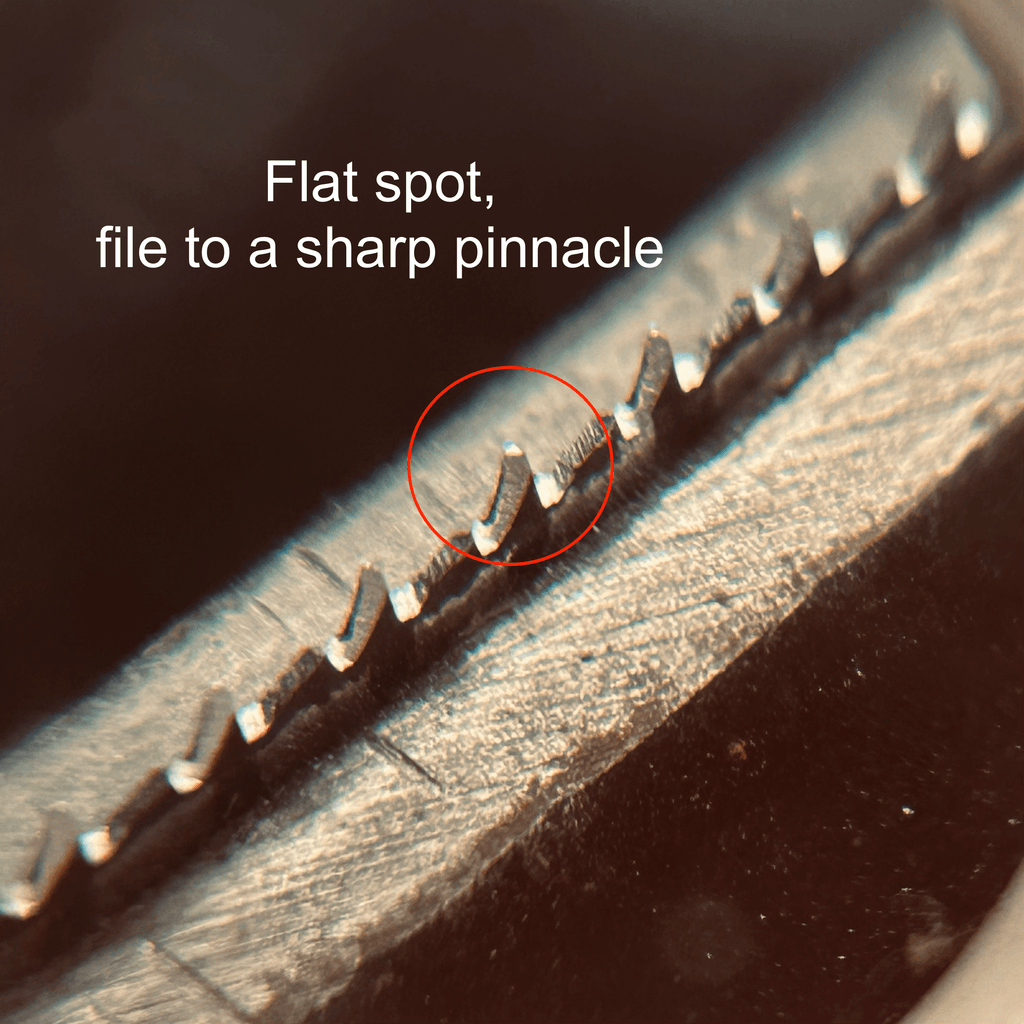
Take the saw out and sight along the toothline under the lamp. You want no bright dots at all. If a few remain, one more light stroke in that gullet. If you see a run of teeth that look shorter than the rest, the file went too deep there. Joint again, lightly, and go back over that section. The magnifier helps here more than anywhere.
Step 5: set, only if it needs it
A fine backsaw wants very little set, and the set lasts several sharpenings, so most of the time you skip this step. The test is a cut in dry hardwood. If the saw binds, it needs more set. If it doesn’t, leave it alone.
If you do set, bend every second tooth from one side, then turn the saw and do the others, always in the direction the tooth already leans. Never reverse a tooth. It’ll snap off. Use the lightest setting the tool has. Then lay a fine oilstone flat against the side of the plate and run it once along the toothline on each side. That evens the set and knocks off the burr from filing.
Step 6: test cut
Cut a scrap of the timber you actually use, with straight lines marked on the top and side to cut to. The saw should start on a light stroke, follow the line without being steered and run without binding. Do at least 5 to 10 cuts to check it’s cutting straight before you go near a stone. If it pulls to one side, the teeth on that side could be cutting faster or standing out further. More test cuts may wear the burr off that side and give you a straight cut. If not, lightly wipe the side it pulls to with a flat stone. I use an Eze-Lap 250. Test cut again. If it feels rough, look for a high tooth. Wipe the plate, oil it, and you’re done.
The mistakes I see most
- Pressing hard. The file cuts under its own weight. Force rounds the points and snaps the file.
- Skipping the jointing. Without the flats you’re filing blind.
- Changing the angle halfway along. Keep your elbow steady and rest when your arm tires.
- Dragging the file on the pull stroke. It dulls the file quicker, and files cut on the push stroke. I prefer to lift each time to check my progress.
- Too much set. The commonest fault on old saws, and the easiest to add by accident.
- Working with a dull file. When a file starts to slide and squeal, rotate it to a fresh corner. When all three are gone, throw it out.
If this is your first go, do it on an old handsaw with big teeth before you touch a backsaw. Everything is the same, only larger and easier to see. And if you’d rather learn with someone beside you, that’s a good part of what the two-day workshops are: you shape, file, set and sharpen the teeth on a saw you’ve built, and take it home cutting, along with a needle file and guide to keep it that way.