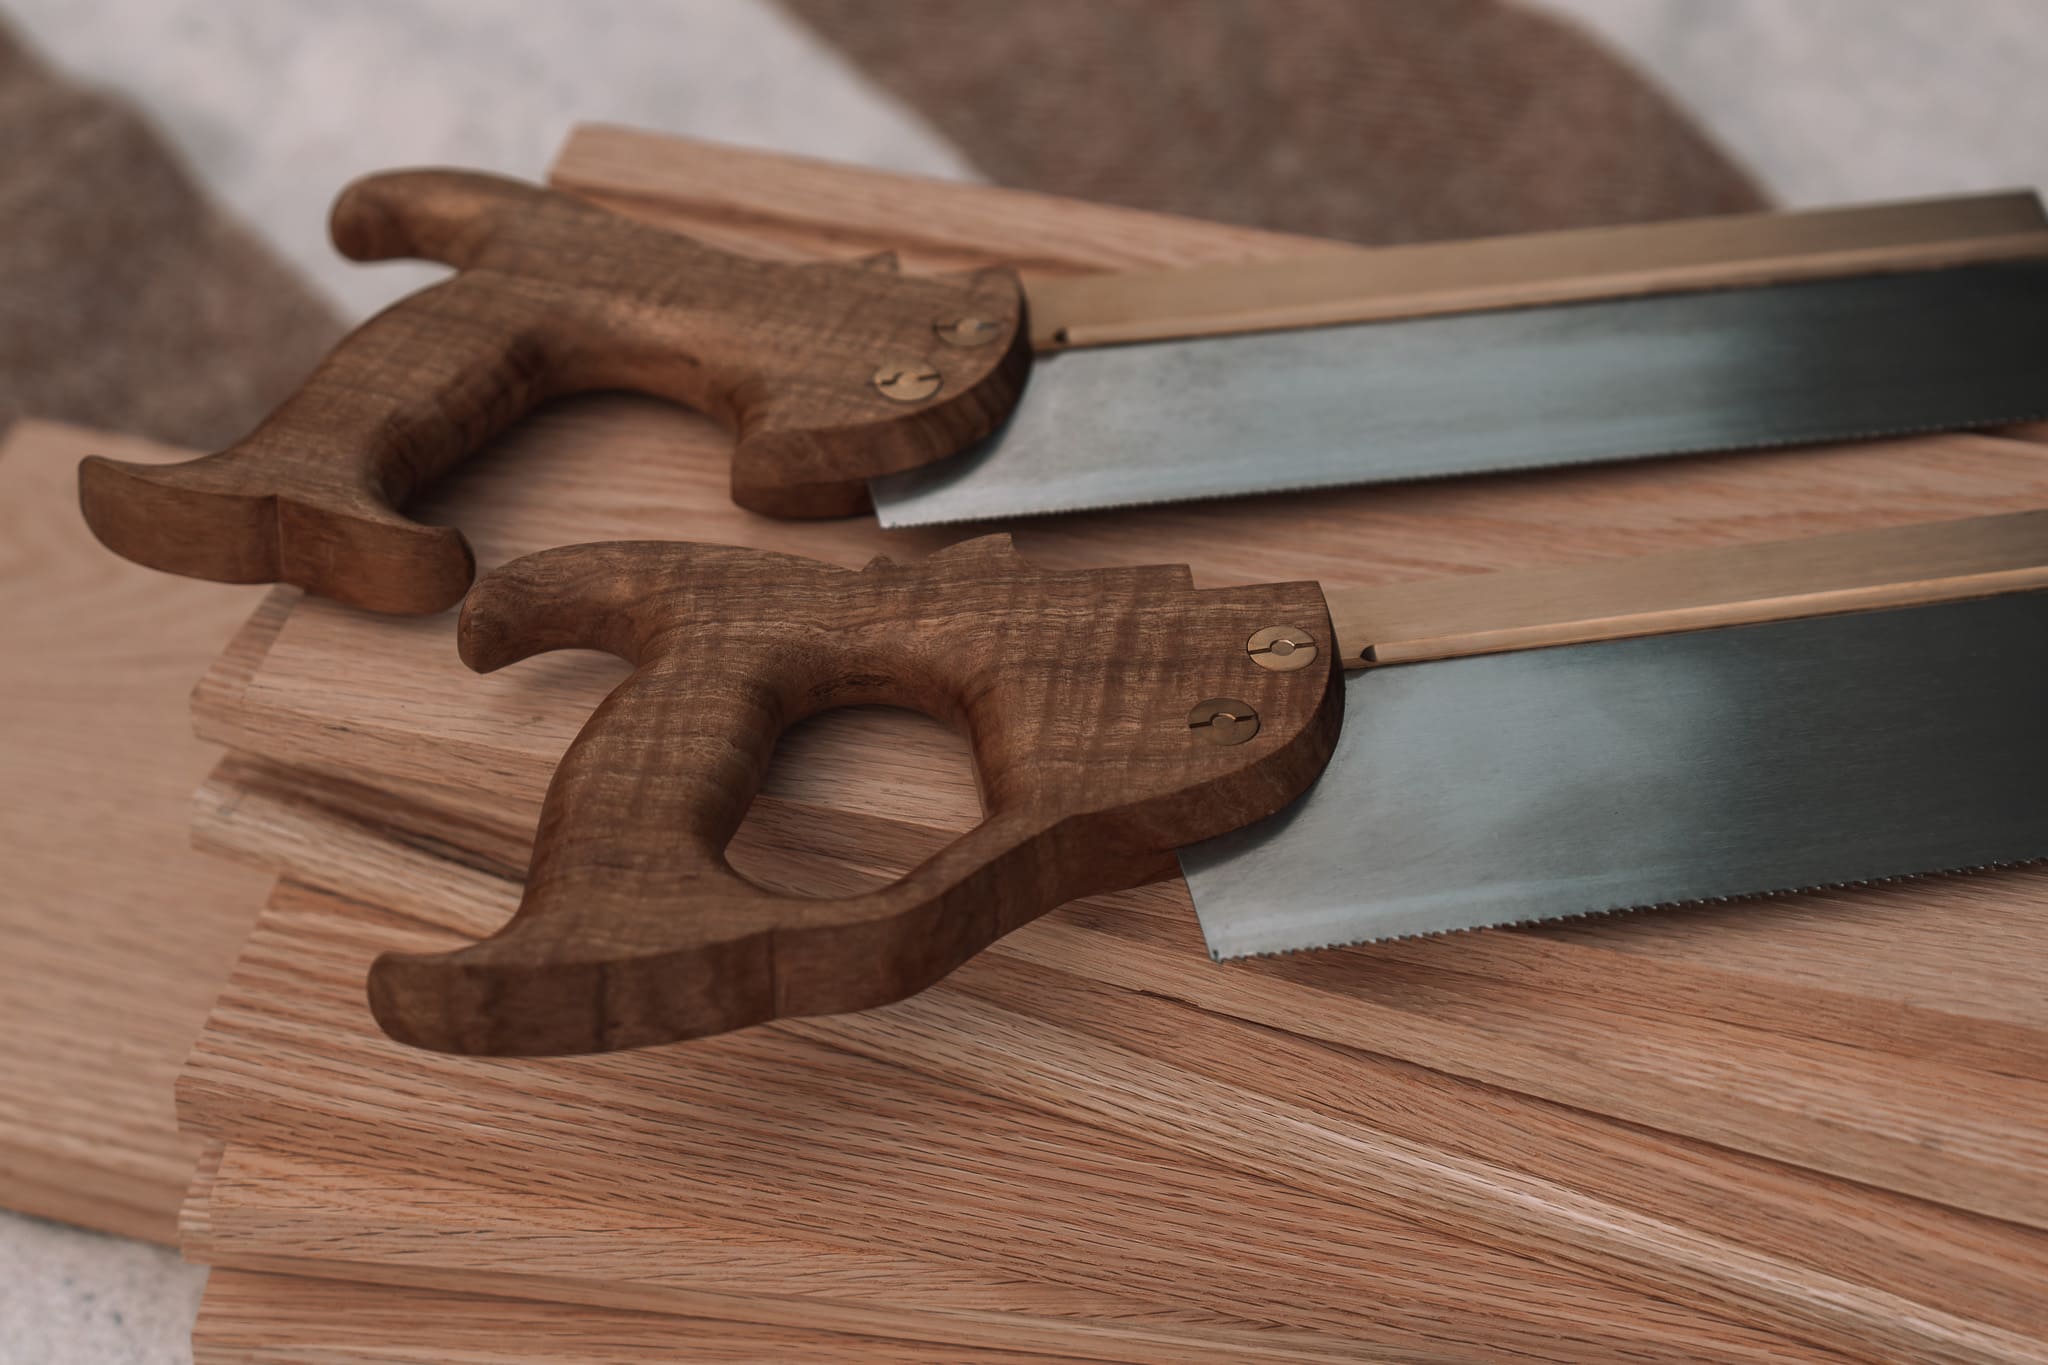

After a workshop, the tool people ask me about most isn’t the saw. It’s the little file they sharpened it with. Everyone goes home with a triangular needle file and a file guide, and sooner or later they want a spare, or a second one for another saw. So this is what I’d look for when buying one.
What a needle file is
A needle file is a small file made for jewellers, model makers and toolmakers. It’s usually between 140 and 200mm long overall, with a thin round handle that’s part of the same piece of steel, and teeth much finer than a hardware-store file. They come in a lot of shapes. For saws you only need one of them.
Why a needle file for a backsaw
Saw files are sized to the teeth. The file table in the sharpening post goes down to a 100mm double extra slim taper, and on a bigger tenon saw that’s what I’d use. On a fine backsaw the teeth are small enough that a saw file feels clumsy. A triangular needle file is slimmer, it sits neatly in a small gullet, and the fine cut leaves a clean edge on the tooth. They’re also cheap enough to buy two.
The shape: three-square
The shape you want is triangular, often sold as three-square. Its faces meet at 60 degrees, which is the angle between the back of one saw tooth and the front of the next, so the file shapes both in one stroke. Flat, half round, square and knife files are handy for other jobs in the workshop, but they won’t shape a saw tooth.
There’s one difference from a proper saw file. The corners on a saw file are very slightly rounded, which leaves a small radius at the bottom of each gullet. A needle file’s corners are sharp, so the gullet comes out sharp too. On fine backsaw teeth that doesn’t cause any trouble.
The size
Needle files are sold by overall length, but the number that counts is how wide each face is. The rule from the sharpening post still applies: each face should be a bit more than twice the height of the tooth, so there’s fresh file left when you rotate to the next corner. The F. Dick three-square in 160mm measures 3.9mm across at its widest, which is plenty for 13 to 16 PPI.
Needle files taper to a point, so the faces get narrower towards the tip. Do your filing on the wider part, closer to the handle. If only the fattest part of the file is wide enough for the teeth, the saw needs a proper saw file instead. I try to get the longest possible for fewer strokes to make it quicker. Sourcing good needle files in Australia is getting harder.
The cut
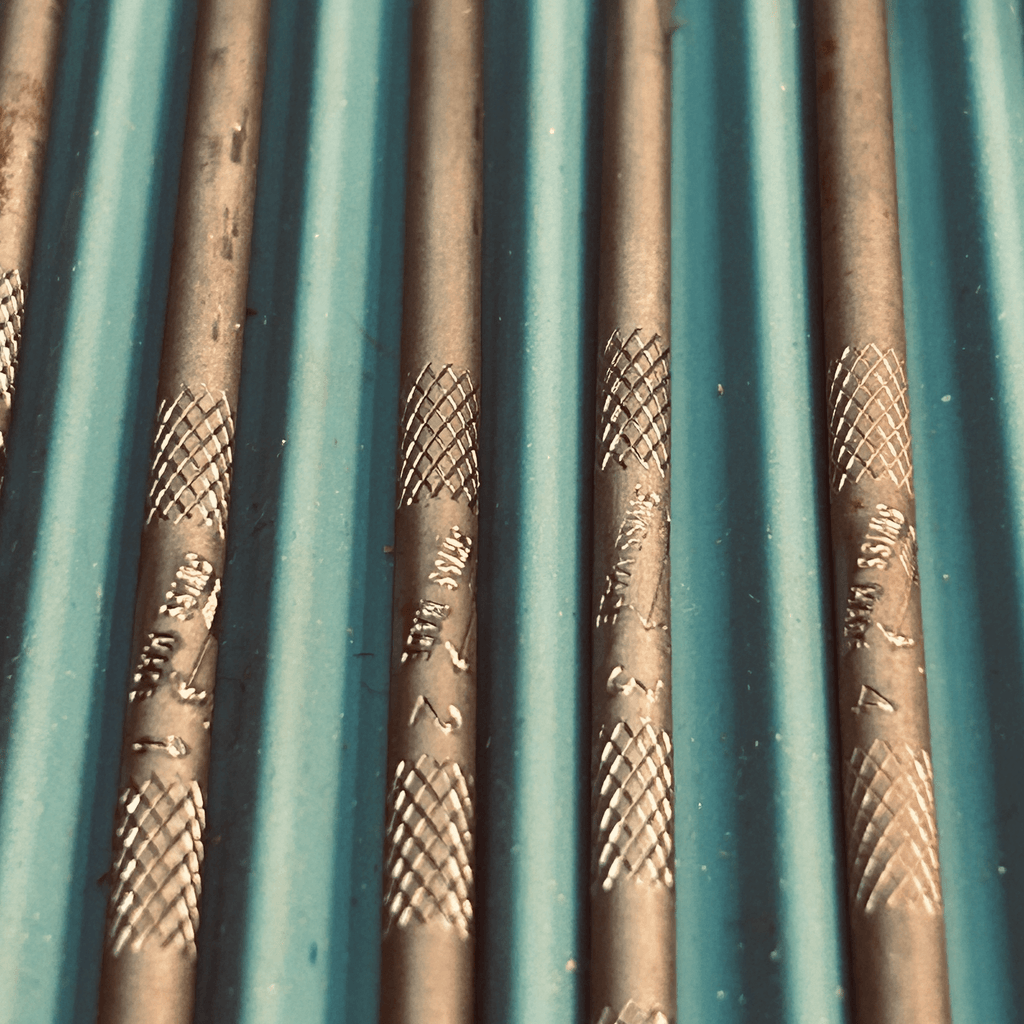
The cut is how coarse or fine the teeth on the file are, and it’s given as a number. The lower the number, the coarser the file. You’ll see anything from 00, which is very coarse, up to 4 and finer. German and Swiss makers number their cuts a little differently, so a cut 2 from one brand isn’t exactly the same as a cut 2 from another.
I use two cuts. A cut 2 for the first shaping, because it removes steel faster. Then a cut 4 for finishing. It removes steel slowly, so I can sneak up to a sharp point without taking off too much.
The brand
I use F. Dick needle files, made in Germany. They cut well and they last. Other good brands I use are Vallorbe and Corradi, although they are a bit more expensive. A cheap set of needle files from the hardware store often has soft teeth that go dull after one saw, and you’ll spend the whole job wondering whether it’s you or the file.
Where to buy them in Australia
Jewellers’ supply shops are the best place to look, because jewellers use needle files every day. I buy mine from Koodak Jeweller’s Supplies in Melbourne. They stock the F. Dick three-square needle files in 160mm in several cuts, including the 2 and the 4, and post Australia-wide. I also buy from Gemcuts in Ballina NSW, a lapidary and jewellery supplier with a good range of needle files. Some woodworking and engineering tool shops carry needle files too. Check the brand and the shape before you buy, and don’t buy a mixed set just to get the triangular one.
A handle and a file guide
The round handle on a needle file is short and thin. It’s fine for a few strokes, but over a whole toothline your fingers cramp and it can become unsafe practice. I fit mine into a small timber handle, mostly for comfort and safety, but also enables me to lock in position for effective and accurate filing.
The file guide is a block of hardwood that slips onto the tip of the file, with a line marked on it at the rake angle. Keep that line vertical as you file and the rake stays the same from tooth to tooth. For fleam, line the file up with a mark on the vice. The sharpening post goes through it step by step.
Looking after your files
- Keep them apart. Files rattling around loose in a drawer chip each other’s teeth. A cloth roll, a block with holes drilled in it or the sleeve they came in all work.
- Keep them dry. A rusty file won’t cut.
- Clean them with a stiff brush or a file card when the teeth fill with filings. Clogged teeth skid instead of cutting.
- Keep your saw files for saws. Use them on other jobs and the corners you need are worn before they reach the toothline.
- Use all three corners. When one starts to slide and squeal, turn the file to the next. When all three are gone, so is the file.
If you’ve done one of my workshops you already have one of these in your kit. And if you’d rather leave the filing to someone else, I’m setting up a sharpening service, which is coming soon.